Home › Forums › Tame and Train Your Email › How to set up a group email list for parents
Tagged: Admin Console, Google Groups, Parent Email Lists
- This topic has 2 replies, 2 voices, and was last updated 8 years, 10 months ago by
 Rob Clarke.
-
AuthorPosts
-
-
June 15, 2017 at 2:49 pm #2396
 Rob ClarkeKeymaster
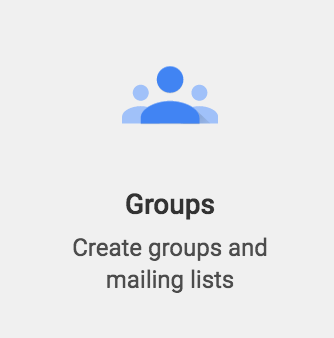
Following is a response to a question from Annabel from Little River which prompted me to write instructions for setting up an email list. There are many options for how you can control this, so these instructions are to set up a basic email list.
Hi Rob
following on from our PD on Tuesday at Duvauchelle, you got me onto starting up parents email groups for each teacher … how do access this now?!!
Many thanks
AnnabelThe set up of your Groups inside your G Suite system can make or break your organisations ability to collaborate.
Follow these steps to set up a group for parents:
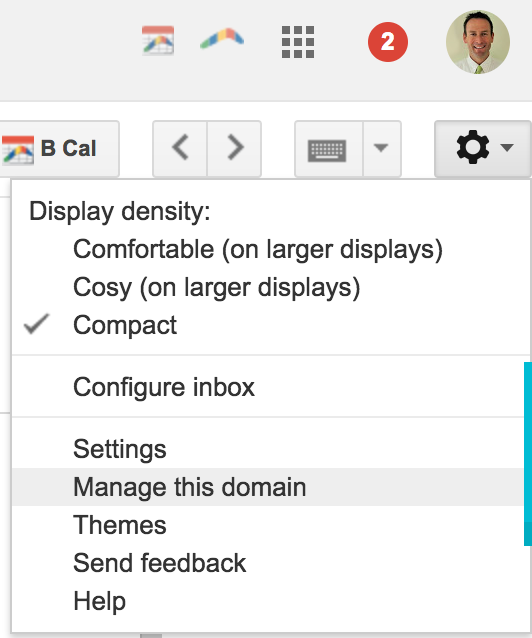 From either the App Launcher OR inside Gmail – launch the Admin Console – you will be asked for your password in again.
- Click on the Groups app – this is where you can set up email lists for everyone in your organisation
- From here, you’ll see a small + icon bottom right – hover over this and click ‘Create Group’.
- Give the group a name – this is what appears when someone searches for it so you should be descriptive, eg. Room 5 Parents 2017.
- Give it a unique email address – without spaces. If making a number of groups, keep email addresses and group names in a consistent format.
- Set the Access Level – this is important as it specifies who can use the group. You have these choices:
- Public – not a good idea for parents unless you want them to be able to email each other using this group. If you choose this, I suggest you put a staff member on this list.
- Team – good if making a group for staff only, this ensures students can email the group!
- Announcement – for one-way email lists but this allows anyone inside your school to join it. Again, not ideal to have kids on these lists if they are parent email groups.
- Restricted – this means only managers of the group can email it or invite new members.
- Once you create the group, you’ll next be presented with a dialogue for adding members to it.
- Click the section called ‘Manage users in name of group‘.
- To add parent emails to this group, you need to copy their email addresses then click ‘Add as Member‘.
- If you are wanting to add all parents in a class in one go – make a list of the email addresses in a Google Sheet first.
You might want to check out our course Google Sheets & Forms for the Office if you want help with these powerful tools.
Let me know how you go!
-
August 29, 2017 at 9:58 am #2746
Quick question:
Once you have set up your group for ‘parents’, how can you send an email to all parents…BUT not showing ALL the email addresses or names?
Niva -
August 29, 2017 at 10:38 am #2747Rob ClarkeKeymaster
Kia ora Niva,
Check this forum post which has a video tutorial I made for Annabel at Little River School.
When you create a Google Group, it will have an email associated with it. This is what you might think of as an ’email list’, eg. [email protected]
When you send an email to [email protected] it means the group distributes the email to the people who are in it. They cannot ‘see’ each others’ email addresses unless you allow this in the settings.
That video above should show you how to set this, if you are still stuck after watching it, take a screen shot and post back here and I’ll step you through it.
Awesome!
Rob
-
-
AuthorPosts
- You must be logged in to reply to this topic.